A stack of golden classic French crepes garnished with fresh fruits and powdered sugar

Introduction to Classic French Crepes

What Are French Crepes? French crepes are thin, delicate pancakes that originated in France, known for their versatility and simplicity. Unlike thicker pancakes, crepes have a smooth, …

Learn More

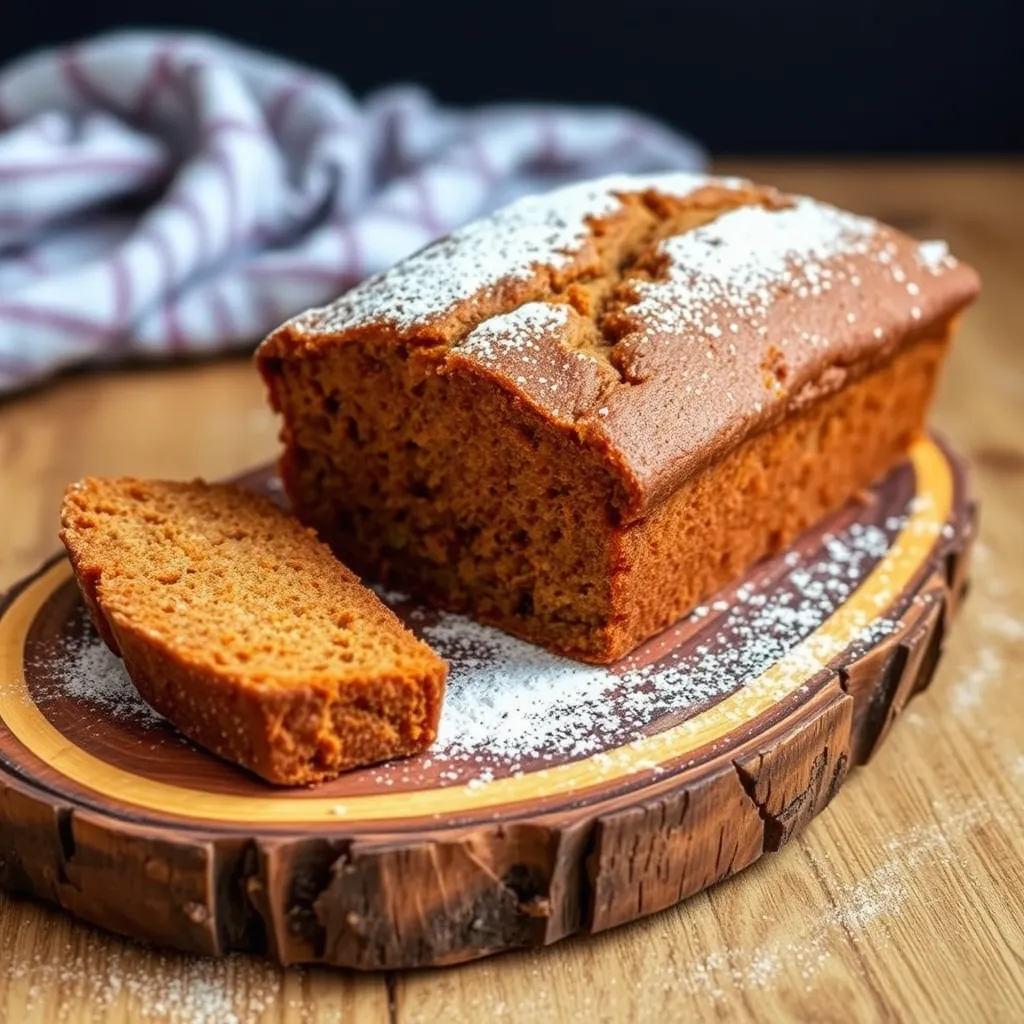
Gingerbread loaf with a slice cut off, showing moist texture

How to Make the Perfect Gingerbread Loaf

Introduction When it comes to comforting holiday treats, there’s nothing quite like a delicious, spiced gingerbread loaf. This fragrant, moist cake is a beloved winter classic that …

Learn More

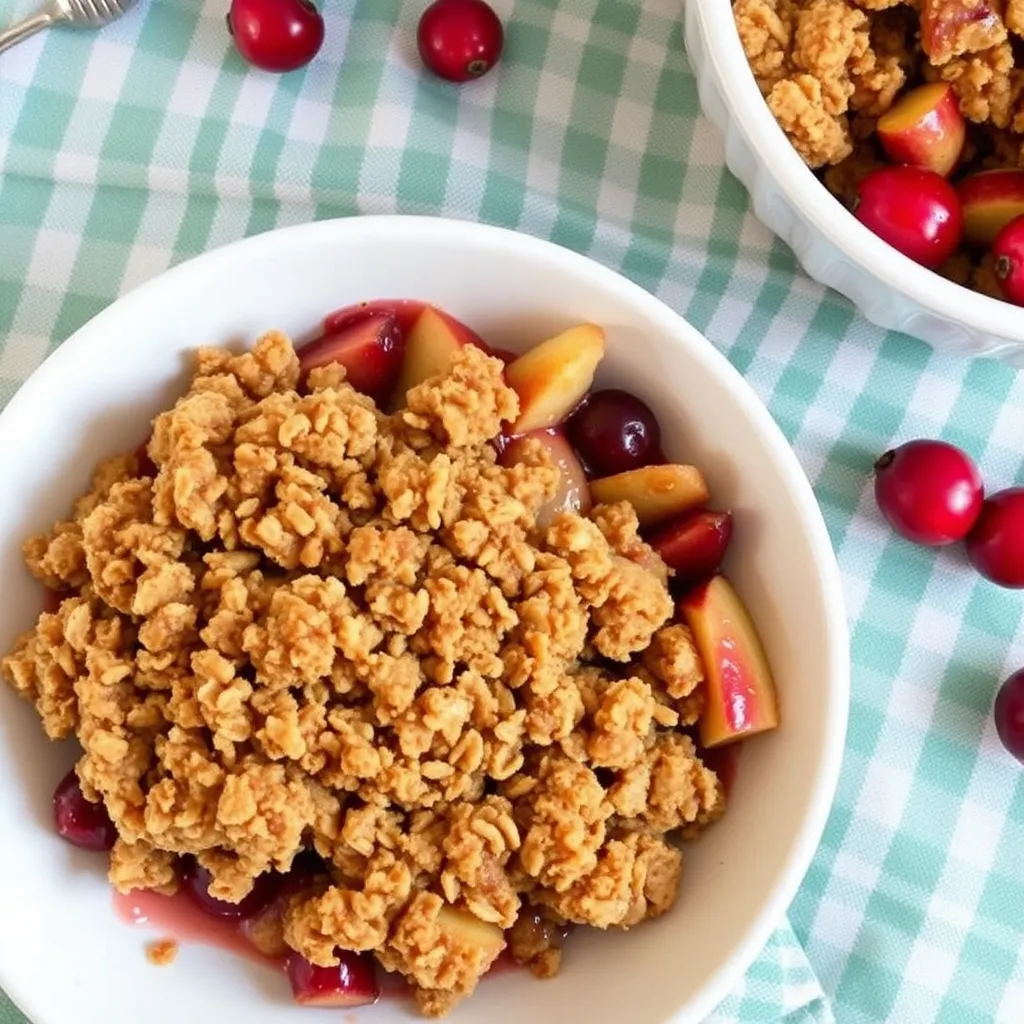
Baked cranberry apple crisp with oat topping.

Sweet and Tart Cranberry Apple Crisp

What Makes This Dessert Special? Imagine biting into a dessert that perfectly balances the sweetness of apples and the tart zing of cranberries. A cranberry apple crisp …

Learn More

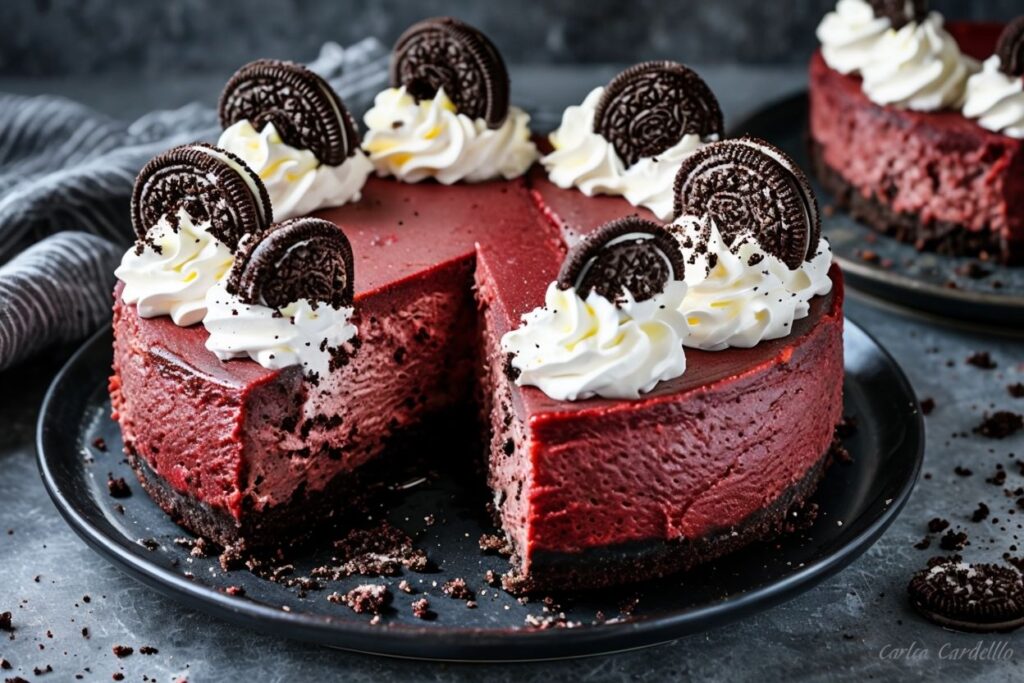
Pitaya & Black Goji Berry Cheesecake – A Unique and Delicious Twist!

Looking for a dessert that’s not only eye-catching but also bursting with exotic flavors? This Pitaya & Black Goji Berry Cheesecake is your new go-to! It’s a vibrant, fruity twist on a classic that’ll make your taste buds dance. Whether you’re hosting a dinner party or simply treating yourself, this cheesecake brings something special to the table. Ready to dive into this colorful dessert masterpiece? Let’s do it! 💫

Why You’ll Love This Cheesecake

Let’s face it: cheesecake is already a crowd-pleaser. But adding pitaya (also known as dragon fruit) and the antioxidant-rich black goji berries takes it to a whole new level. The tartness of the berries pairs perfectly with the creaminess of the cheesecake, while the pitaya gives it a pop of color and a subtle sweetness. What more could you ask for? 🍴

  • Exotic Flavors: The mix of tropical pitaya and earthy black goji berries creates a flavor experience that’s both unique and refreshing.
  • Visually Stunning: This cheesecake is a feast for the eyes with its vibrant pink and purple layers. Perfect for impressing guests or adding flair to your Instagram feed!
  • Easy to Make: You don’t need to be a pro baker to pull this off. With a simple process and ingredients, you’ll be whipping up this stunning dessert in no time.

Ingredients

Here’s what you’ll need to get started:

  • Crust:
    • 1 ½ cups graham cracker crumbs
    • ¼ cup sugar
    • ½ cup melted butter
  • Filling:
    • 2 cups cream cheese, softened
    • ¾ cup sugar
    • 1 tsp vanilla extract
    • 3 eggs
    • ½ cup pitaya purée (or pink dragon fruit purée)
    • ¼ cup black goji berry juice (you can steep dried black goji berries for a few minutes in hot water and strain)

Instructions

  1. Prepare the Crust:
    Combine the graham cracker crumbs, sugar, and melted butter until you get a sandy texture. Press this mixture into the bottom of a springform pan and bake at 350°F (175°C) for about 10 minutes until it’s golden and firm. Let it cool.
  2. Mix the Filling:
    Beat the cream cheese and sugar together until smooth. Add in the eggs one at a time, mixing well after each addition. Stir in the vanilla extract. Divide the mixture into two bowls—one for the pitaya purée and the other for the black goji berry juice.
  3. Create Your Layers:
    Pour the pitaya cheesecake mixture onto the cooled crust, smoothing it out evenly. Next, carefully spoon the black goji berry mixture over the pitaya layer, gently spreading it to create two beautiful layers of color.
  4. Bake:
    Bake at 325°F (160°C) for 45-50 minutes, or until the center is almost set. The key is to let it cool gradually in the oven with the door slightly open, preventing any cracks.
  5. Chill & Serve:
    Refrigerate for at least 4 hours or overnight. The longer, the better—this allows the flavors to meld together beautifully. Serve chilled, and get ready to dazzle everyone with the stunning colors and irresistible taste! 🍓✨

Tips for the Perfect Cheesecake

  • Room Temperature Ingredients: Make sure your cream cheese and eggs are at room temperature for a smoother, creamier filling.
  • Slow Cooling: Don’t skip the gradual cooling step! This helps prevent cracks and ensures the cheesecake sets perfectly.
  • Decoration: Garnish with fresh pitaya slices or sprinkle some black goji berry powder on top for an extra pop of color and flavor.

Storage Instructions

  • Fridge: Store your cheesecake in an airtight container in the fridge for up to 5 days.
  • Freezer: Want to enjoy it later? Freeze individual slices by wrapping them tightly in plastic wrap and storing them in a freezer bag. They’ll last up to 3 months!

Variations

  • No-Bake Version: Press the crust and chill it, then simply layer the fillings without baking. Let it set in the fridge for a few hours, and voila—a no-bake version!
  • Vegan Option: Swap the cream cheese for a plant-based alternative and use a flax egg mixture instead of real eggs for a vegan delight.
  • Fruit Swaps: Not a fan of pitaya? Use raspberries or strawberries for a similar fruity flavor and bright color.

Related Recipes

Final Thoughts

This Pitaya & Black Goji Berry Cheesecake isn’t just a treat for your taste buds, it’s an absolute showstopper! With layers of bright color and a burst of fruity flavors, this cheesecake is guaranteed to impress. Whether you’re a baking novice or a dessert pro, this recipe is sure to make you feel like a culinary genius. 🍰

Banana Bread Recipe You’ll Want to Make Every Week

Why Banana Bread is Everyone’s Favorite Comfort Food

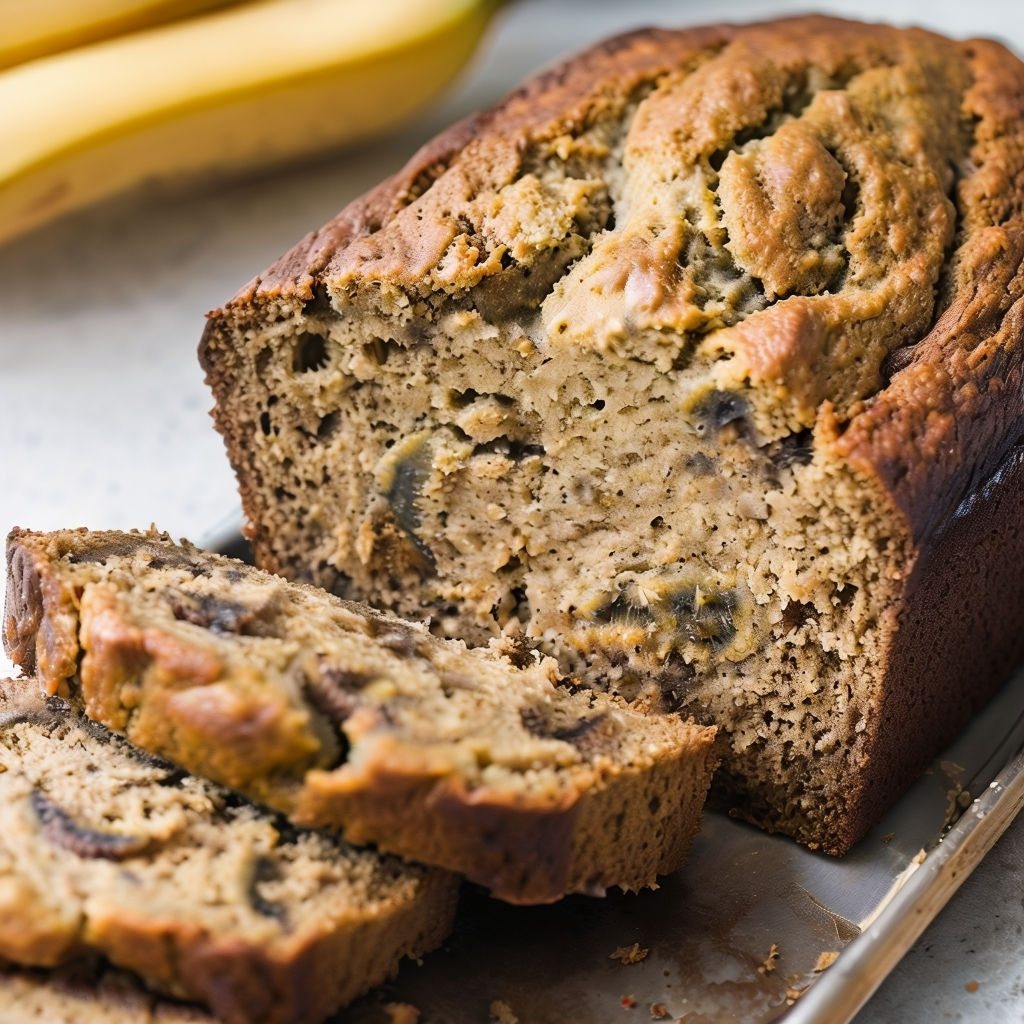
Imagine this: the aroma of freshly baked banana bread filling your kitchen, wrapping you in warmth. It’s a universal comfort food, perfect for breakfast, an afternoon snack, or even dessert. The beauty of banana bread lies in its simplicity. With just a few basic ingredients, you can transform overripe bananas into a soft, moist loaf that’s both satisfying and nostalgic. It’s the type of recipe you’ll want to keep making over and over.

A Brief History of Banana Bread: From Necessity to Classic

Banana bread first found its way into households during the Great Depression. At a time when food wastage was frowned upon, thrifty home cooks discovered a way to make use of overripe bananas that would otherwise be thrown out. By combining them with simple pantry staples, they created what would soon become a classic. Today, it’s more than just a recipe of necessity; banana bread has earned a permanent spot in the realm of comfort foods, evolving into countless variations that cater to every dietary preference.

The Secret Ingredient: What Makes Banana Bread So Moist?

What makes banana bread irresistibly moist? It all comes down to the bananas. The more overripe they are, the better. Their natural sugars intensify as they brown, giving the bread not only its sweet flavor but also its lush texture. To boost the moistness further, some bakers swear by adding a dollop of yogurt, sour cream, or even applesauce. The result? A soft, tender crumb that practically melts in your mouth with every bite.

Essential Ingredients for Banana Bread Success

  • The Importance of Ripe Bananas
    The secret weapon in banana bread is overripe bananas—those ones with deep brown spots that you’d typically throw away. Not only do they add sweetness, but they’re also packed with moisture, essential for the perfect loaf.
  • Flour and Its Impact on Texture
    All-purpose flour is a common choice, but don’t hesitate to experiment. Whole wheat flour adds a nutty flavor and dense texture, while cake flour creates a lighter, more delicate crumb.
  • Choosing the Right Sweeteners
    White sugar is traditional, but consider using brown sugar for added richness and a caramel-like depth. If you’re seeking healthier options, honey or maple syrup can serve as natural sweeteners without sacrificing flavor.

Must-Have Equipment for Perfect Banana Bread

  • Mixing Bowls, Loaf Pans, and More
    A good mixing bowl, a reliable whisk, and a sturdy loaf pan are key. If you have a non-stick loaf pan, great! If not, just line it with parchment paper for easy removal. For best results, a metal loaf pan provides even heat distribution, ensuring your bread bakes perfectly every time.

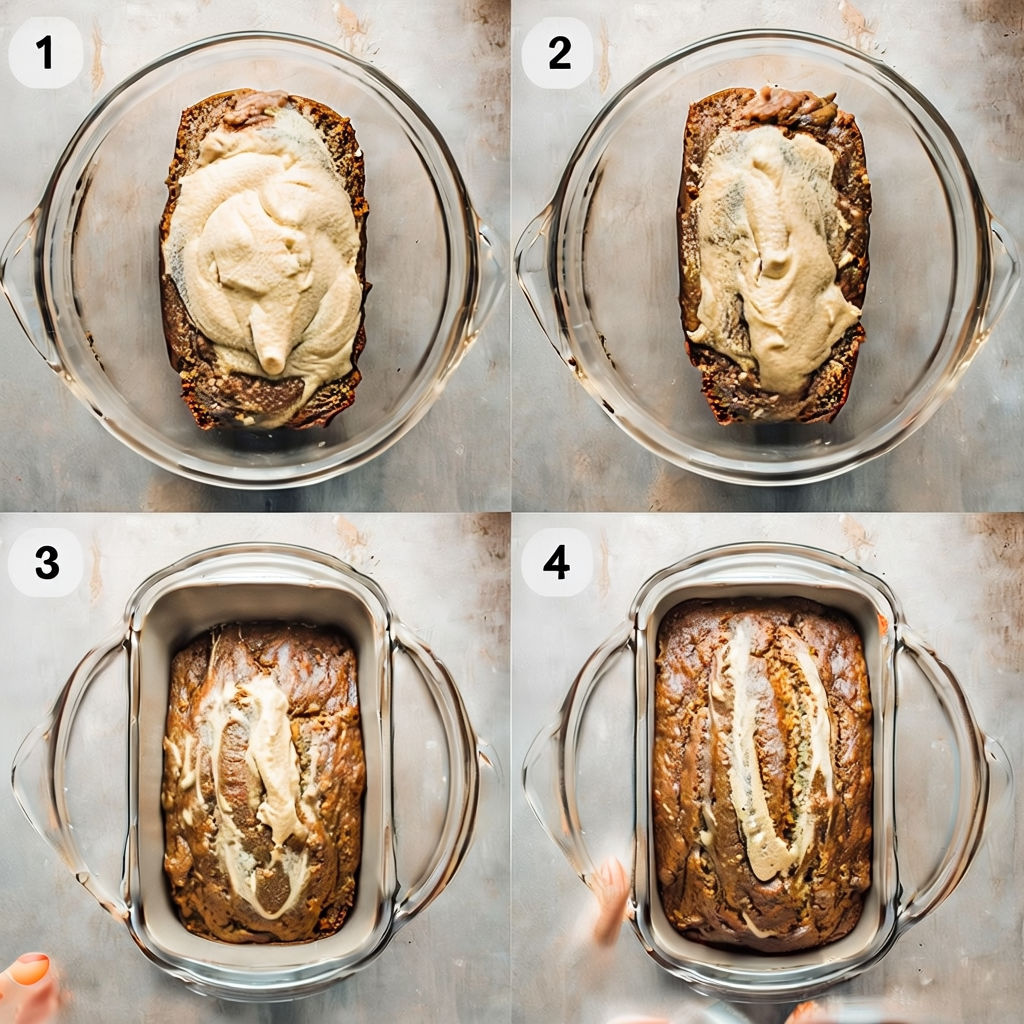
Step-by-Step Guide to Making Banana Bread

  • Prepping the Ingredients
    First, mash those ripe bananas until they’re smooth with some small chunks for texture. In a separate bowl, sift together the dry ingredients—flour, baking soda, and salt.
  • Combining Wet and Dry Ingredients
    In another bowl, beat the eggs and sugar until well mixed, then add the melted butter and bananas. Slowly fold the dry ingredients into the wet mixture. The key is not to overmix; otherwise, you’ll end up with a dense loaf.
  • Baking Time and Tips
    Pour the batter into a greased loaf pan and bake at 350°F (175°C) for about 55 minutes. Check with a toothpick—it should come out clean, signaling the bread is ready.

Variations on the Classic Recipe

  • Adding Chocolate Chips or Nuts
    For a touch of indulgence, mix in chocolate chips or chopped nuts. The chocolate adds a velvety sweetness, while the nuts bring a satisfying crunch.
  • Going Gluten-Free or Vegan
    Swap regular flour for a gluten-free blend, and replace eggs with a flaxseed mixture for a vegan-friendly version. Coconut oil can also replace butter for a plant-based twist.

Troubleshooting Common Banana Bread Issues

  • How to Avoid Dry or Soggy Bread
    Dry banana bread is often a result of overbaking. Use a timer and check early! Soggy bread? That’s usually due to too much moisture or not enough time in the oven. Keep an eye on both.
  • Fixing Undercooked Centers
    If the center of your loaf isn’t fully cooked, tent the top with foil and give it an extra 10-15 minutes. This prevents the crust from burning while the center finishes baking.

How to Store and Freeze Banana Bread for Freshness

To keep your banana bread fresh for days, wrap it tightly in plastic or store it in an airtight container at room temperature. Want to freeze it? No problem. Slice the loaf, wrap each piece in plastic, and freeze. When you’re ready to enjoy, just thaw at room temperature or warm a slice in the microwave for a few seconds.

Creative Ways to Serve Banana Bread

  • From Breakfast to Dessert Ideas
    Banana bread’s versatility shines in how you serve it. Toast it for breakfast with a pat of butter, pair it with a dollop of whipped cream for dessert, or even grill it for a crispy outside. Another fun idea? Top it with nut butter or cream cheese for a richer, more decadent snack.

Why You’ll Want to Make Banana Bread Every Week

Banana bread is more than a recipe—it’s an experience. The simplicity, the aroma, the comforting taste, it’s all part of why you’ll find yourself coming back to it every week. With endless possibilities for customization, from adding chocolate chips to experimenting with alternative flours, you’ll never tire of making and enjoying this classic treat.

Learn More